– BEGINNING
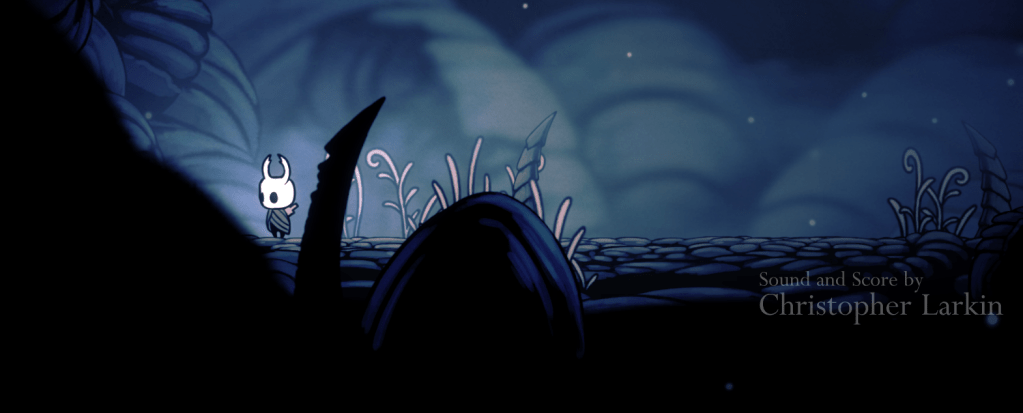
We’ve talked about Hollow Knight before. Today, I’m bringing it up again because we’re starting a new series: GUIDES. The reason our first guide is about Hollow Knight can be broken down into three reasons:
- Hollow Knight is one of my favorite games.
- Hollow Knight is a METROIDVANIA game, which means the game doesn’t clearly tell you what your goal is.
- The game is very difficult. I have 103 hours in Hollow Knight, but I’m still only 66% through the game.
So that’s why our first guide is Hollow Knight.
HOW DO I PLAY IT? You can download the game from Steam, but installing it isn’t enough. That’s because it’s very hard to play Hollow Knight with a keyboard. The game itself recommends using a good controller. If you have everything you need, let’s get started.
WHAT SHOULD I DO? If you’re starting the game for the first time, you’ll only see one difficulty level. But if you’ve finished the game once in any difficulty, you unlock a new mode called STEEL SOUL. In this mode, if you die, your entire save is deleted.
Before starting, let me ask: have you ever played a METROIDVANIA game before? If your answer is yes, the game may be easier for you. If not, let me explain what METROIDVANIA games are.
WHAT IS A METROIDVANIA? Metroidvania is a game genre that includes challenging gameplay, lots of enemies, different areas, and abilities. Two main features are HUGE MAPS and PROGRESSION MECHANICS. In Metroidvania games, you need certain abilities to move forward. Here’s an example: there’s a place you can’t reach at first, but later you get a double jump ability, and then you can reach it.
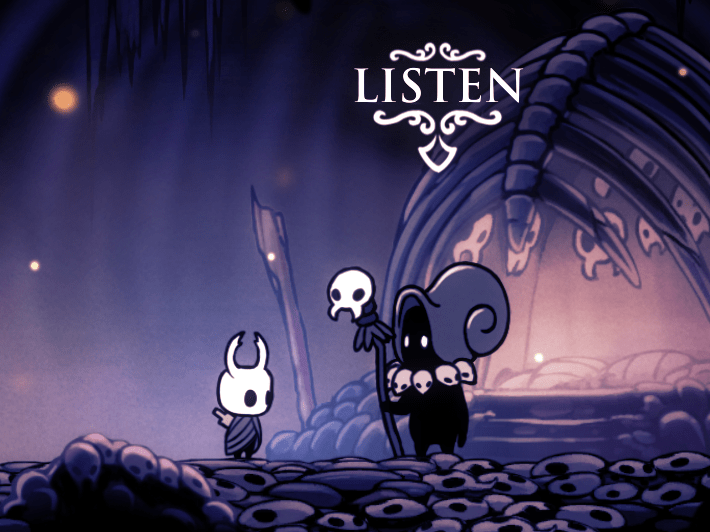
I STARTED THE GAME The tutorial section teaches you the basic mechanics and lets you collect some HIDDEN items and geo bundles (geo is the game currency). You don’t have to collect everything right away—you can come back later. But before leaving KING’S PASS (the starting area), I recommend collecting a few things.
This is where you begin the game. On the LEFT side of the starting area, you can pass through a wall. After that, you’ll find a small bundle of geo. These bundles can be broken open to get the geo inside. Above this little room, there’s a hole that leads to HOWLING CLIFFS—but you’ll need the MANTIS CLAWS ability to use that exit.
TIP: Try to defeat all the enemies and break all the geo bundles in this area. After walking a bit, the floor under you will collapse. Don’t worry—it’s supposed to happen.

At this point, there are two paths. The upper one takes you directly to the main goal. But the lower one lets you get your first CHARM (I’ll explain charms soon). To go through this path, you need to use a mechanic called POGO. POGO is done by jumping on an enemy or something that pushes you back when hit—look down while midair and attack. It bounces you up.
After leaving KING’S PASS, you arrive in DIRTEMOUTH—the game’s first real area. Think of this place as a STOP where players rest and grow stronger. When you first arrive, there’s not much to do except meet ELDER BUG (an NPC) and find a save bench.
Now let’s talk about CHARMS.
WHAT IS A CHARM? Charms are items that give you special abilities. For example, HEAVY BLOW makes your attacks slower but more powerful, while QUICK SLASH is the opposite. Each CHARM has a NOTCH value. Here’s an example: let’s say you have 5 NOTCHES. You equip a 2-NOTCH charm, so you have 3 left. That means you can’t equip a 4-NOTCH charm unless you go into OVERCHARM (we’ll get to that next).

WHAT IS OVERCHARM? Overcharm happens when you try to equip more charms than your current notch slots allow. If you succeed in forcing it, the charm will work, but with a big downside—your damage taken will double. So if an enemy deals 1 damage, it’ll now deal 2. That’s why I don’t recommend OVERCHARMING.
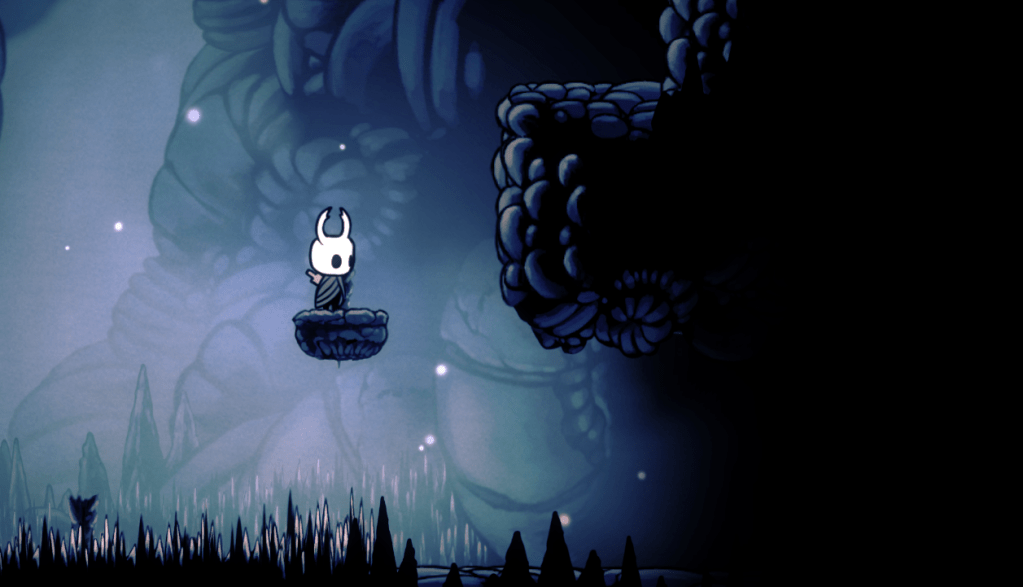
CROSSROADS Now we’ve reached the area where the game fully lets go of your hand: the CROSSROADS. You can reach it by jumping down the well on the right side of DIRTEMOUTH.
TIP: Go RIGHT first. You’ll meet a cartographer named CORNIFER at the bottom right. He appears in each game area and sells maps.
NOTE: If you leave or complete an area without buying the map, Cornifer disappears and leaves it with ISELDA (his wife) in her shop in DIRTEMOUTH.
After buying your first map, I recommend going back up to ISELDA’s shop. She sells two important items:
- QUILL – Cornifer only gives part of the map. The quill fills in missing parts once you sit at a BENCH.
- WAYWARD COMPASS CHARM – It shows your location on the map. It only takes 1 notch.
Once you get these, make your own path through the game. Here’s a simple route I recommend:

WHITE MARK – GRUB FATHER There are GRUB creatures trapped in jars. When you save them, they go home to GRUB FATHER (at the marked location). He gives you rewards for each saved grub.
RED MARK – FALSE KNIGHT This is the first real boss. I suggest waiting before going here.
BLUE MARK – GRUZZ MOTHER This is the first mini-boss and the easiest one. She has only 2 attacks: charging at you and slamming the ground.
YELLOW MARK – SLY SLY is an NPC in a house. Wake him up to open his shop in DIRTEMOUTH. He sells very useful items, including the lantern, which is required to progress in certain areas.
My suggestion: go to WHITE first, then BLUE, then YELLOW. Before going to RED, upgrade yourself by visiting SLY’s shop.
WARNING: Try not to die. When you die, a creature called SHADE appears at the place you died. To recover your lost geo and fix your broken SOUL BAR (used for casting spells like FOCUS), you have to defeat your SHADE.
Once you’re ready, head to the first boss: FALSE KNIGHT.
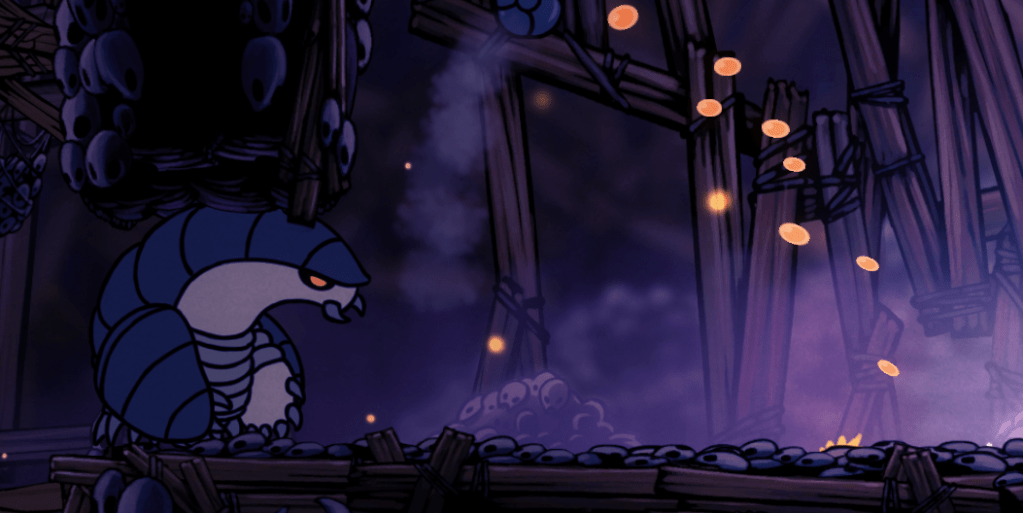
FIRST BOSS: FALSE KNIGHT False Knight can be hard for beginners. Here are his attacks:
- NORMAL SWING If he jumps forward, he’ll slam his big hammer down. It sounds scary, but just go under him as he jumps. Then hit him with everything you’ve got.
- SHOCKWAVE If he jumps backward, get ready to jump over the shockwave he sends.
- ANGRY SMASHES Only happens after he falls down. He goes to the center and smashes left and right. Barrels fall from the sky. Just stay left or right and dodge the barrels.
Eventually, the floor breaks. This is part of the fight. Land the final hit and you’ll defeat your first boss.
FIRST SPELL ABILITY After beating False Knight, a door opens. Don’t forget the chest—it contains a lot of geo.
Go down, and you’ll meet a shaman who gives you the VENGEFUL SPIRIT ability. But using it knocks you out. When you wake up, you’re trapped in the shaman’s basement.
He says, “We’re friends now, so help me out!” and asks you to defeat the monster in the basement.
After passing some enemies and jumping puzzles, you’ll reach the monster: ELDER BALDUR. This enemy stays still and protects itself with its arms. It’s invincible to normal attacks—you can only hurt it with VENGEFUL SPIRIT. It also spits acid and sends smaller BALDURS at you. Be careful—they can surprise you.
After defeating ELDER BALDUR, you get the SOUL CATCHER charm. Even though this looks like your only encounter with this creature, you’ll see more ELDER BALDURS later. But don’t worry—they don’t respawn.
That’s the end of this part of the guide. I’ll write more guides based on your requests.
THE END


Yorum bırakın